
B and I have been living in our rented condo for two and a half years. Our furniture is a mishmash of items we each brought to the household, everything from childhood hand-me-downs to inexpensive pieces we bought when we were each young, single professionals living on our own. Last spring I got an urge to update the bedroom and my bathroom. Since we're saving up to buy a house, and don't know what kind of place we'll have, big investments don't make sense. This refresh was about stretching a budget with easy updates like painting a statement wall, and in some cases, getting creative. I'm really happy with the end result; our home feels a lot cozier. Let me know what you think!
THE BEDROOM PART I - BEFORE

Our bedroom has some nice features - a high, exposed concrete ceiling and one wall made of glass. However, our headboard-less bed was dwarfed by the tall ceiling. The cream-coloured lamps with pencil-thin bases virtually disappeared into a sea of white, and the side tables offered no storage space.
THE BEDROOM PART I - AFTER

I painted the wall behind our bed a steely navy colour (Behr's Evening Hush). My sister was getting rid of the two sets of drawers which now double as our bedside tables. They were originally part of a desk unit that my parents bought in the 1980s from a not-for-profit organization which employs people with developmental disabilities to build furniture. I cleaned, sanded and painted them with two coats of glossy white paint. I like how they really pop against the dark wall.
I bought the bedding with grey and black piping on sale at Winners. Now that we have a bedskirt, we can finally conceal the storage boxes under our bed. Between the headboard, sheets and wall colour, I started to see a nautical theme coming together. I kept it up with red lamps with crystal bases I found at HomeSense.

Our new headboard is made from two square (teak!!) tabletops I salvaged from our condo building's common patio area. The tables were destined for the dump after their legs splintered in a windstorm. I'd done a lot of research on DIY headboards and was inspired by ones made of reclaimed wood (like this one). I measured the tabletops and to my surprise, two were the exact width of a queen-sized bed.
My dad lovingly sanded and stained the wood which was a weathered grey. Then he assembled the tabletops into a custom headboard (he surprised me with the finished product after I went out of town unexpectedly, so I don't have the details of how he did this). The grain of the wood is absolutely beautiful and I am so so grateful for the time and effort my dad put into helping with this project <3. Best of all, these tables hold happy memories of dinners and casual BBQs with friends and family, and are now permanently incorporated into our home's decor.

The picture frame is from Winners; the duck statue from Dollarama.

I got this walnut bowl from an art gallery in Banff a few years ago; it was made my a local artist. I moved it onto the bedside table when I saw how nicely it complements the headboard.
THE BEDROOM PART II - BEFORE

This dresser, which is at the foot of our bed, has sentimental value to me. It was custom-made by a contractor/family friend to fit into my shoebox of a room in university (imagine what you can rent for $235/month and you'll get the idea). I wanted to some new small storage boxes to corral our DVDs and CDs, as well as some plants and artwork.
THE BEDROOM PART II - AFTER

Most of the pieces seen here are from big box stores (Walmart, Home Outfitters, Winners, HomeSense, Zellers). I had hoped to thrift some stuff but gave up after several months of searching. The mini cube-shaped dresser is from my childhood bedroom and has been many colours over the years, most recently black. I used leftover paint from the statement wall to paint it to match.

I moved the square stand from another part of the house to the top of the dresser. It was made in Thailand and reminds me of a womb. I picked up the woman figurine during travels in Vietnam.

The suitcases took the longest to find. I wanted something with vintage charm and eventually settled on faux vintage from a big box store.
THE BATHROOM PART I - BEFORE

B and I have our own bathrooms, so mine was a space where I wanted to bring in some femininity. You can't tell in the photo, but the paint was poorly applied and peeling in places, from the time we moved in. It was driving me nuts. Also, my one sorry piece of artwork looked woefully out of scale.
THE BATHROOM PART I - AFTER
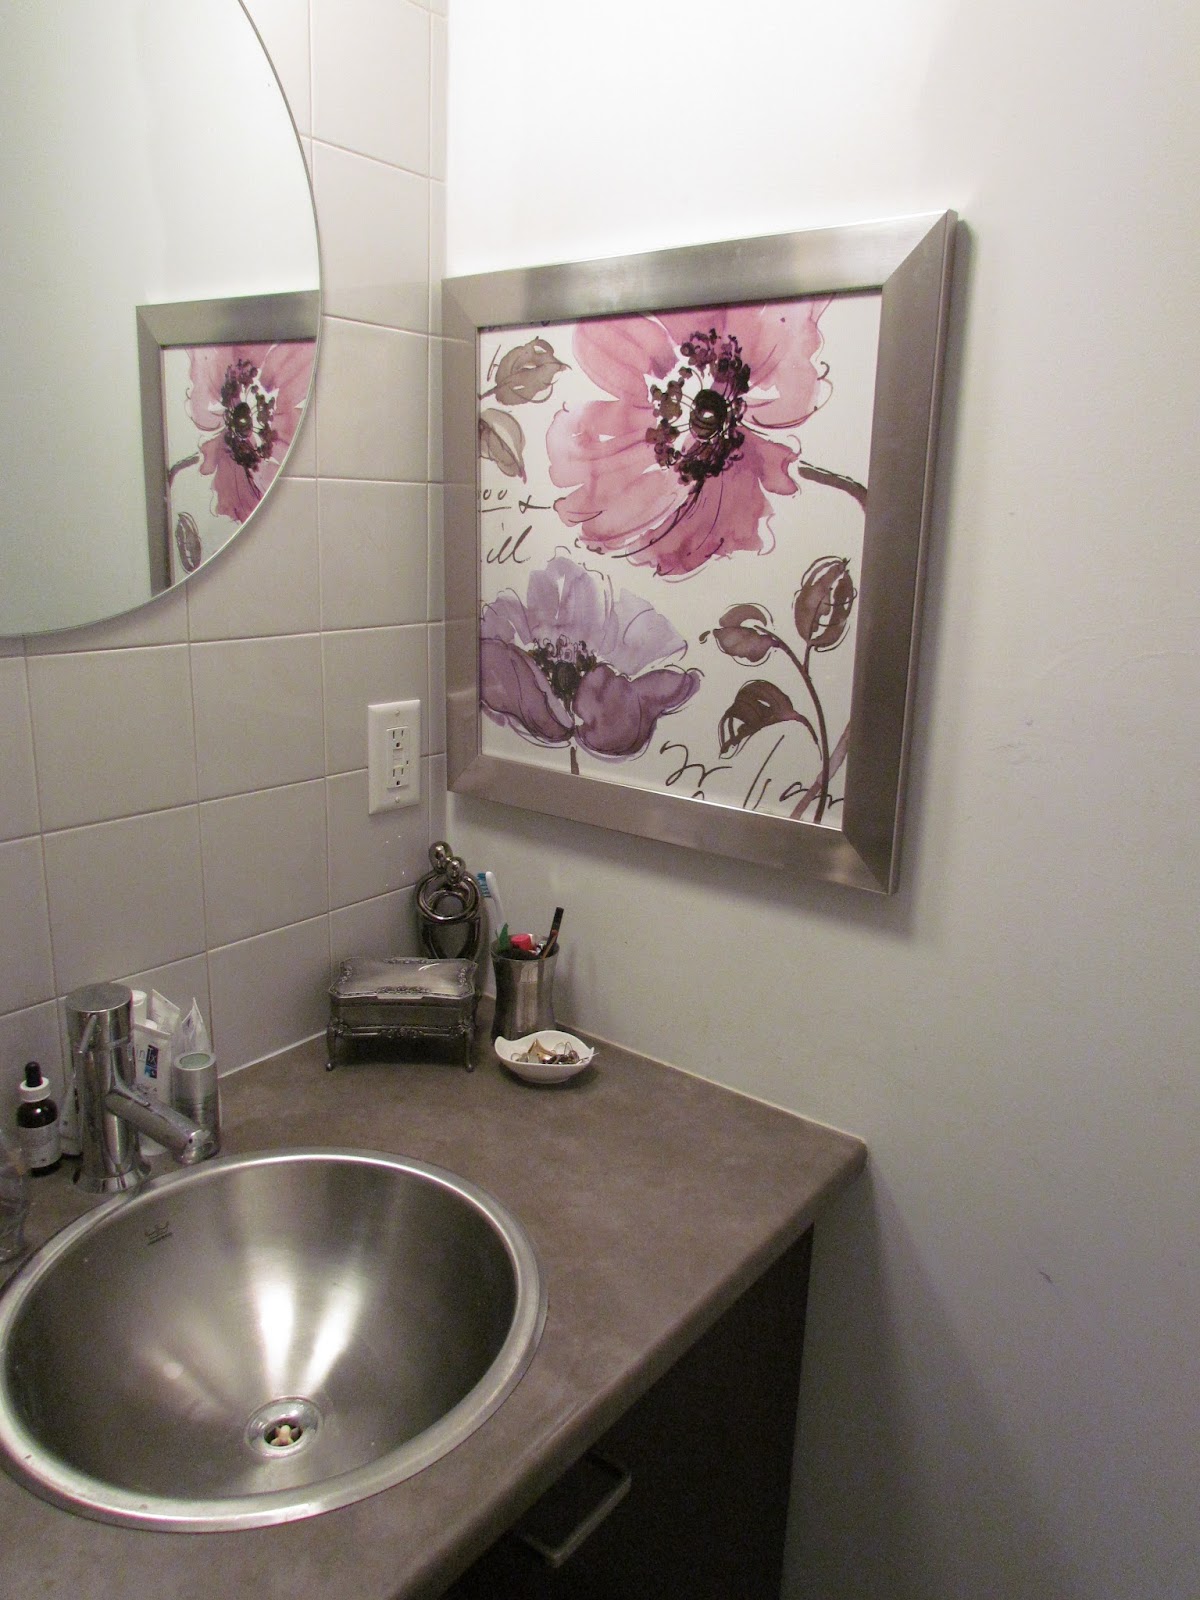
I started by painting the right wall a colour that better matched the tiling, countertop and sink vanity (Behr's Irish Mist). I found the framed artwork at Winners for $30. It just spoke to me, and the frame matched the bathroom fixtures perfectly. I didn't originally plan to hang it there, but I found the final placement more intimate. Plus you can see it from the hallway even when my bathroom door is open.

I created a mini vignette in the corner using a statue from Dollarama, a silver box that was a childhood gift and now stores Qtips and cotton pads, and a small dish for jewellery.
THE BATHROOM PART II - BEFORE

I wanted to paint the front wall of my bathroom (the other non-tile one) a soft but non-neutral colour. I also wanted extra storage for products that used to take up space on the vanity, so I could wipe down the sink counter more easily.
THE BATHROOM PART II - AFTER

I took my artwork with me to the paint store to choose a colour that would pick up on one of the hues in the flowers, settling on Behr's First Blush. In person it reminds me of cotton candy and is my least favourite of the three new paint colours...but it's not too bad. The glass shelf was from Walmart. I reinstalled the towel rack a little lower, and we've since been given some dark grey towels that pop against the light walls.
Are you planning any updates in 2013?
xx
Are you planning any updates in 2013?
xx
House tours are fun to read about :) love the accent wall in your bedroom - it adds so much persobLity to the room!
ReplyDeletethese all look fabulous!
ReplyDeleteYou did a wonderful job! I love the bathroom. You have proven that attention to detail is so important!
ReplyDeleteI love what you've done with both spaces. I just love the teak head board and the bathroom looks so refreshed with the painting and added accents. I have some renovations coming up some by choice and others not so much! cant wait until Jan is over so I can live in my space again!
ReplyDelete